Description
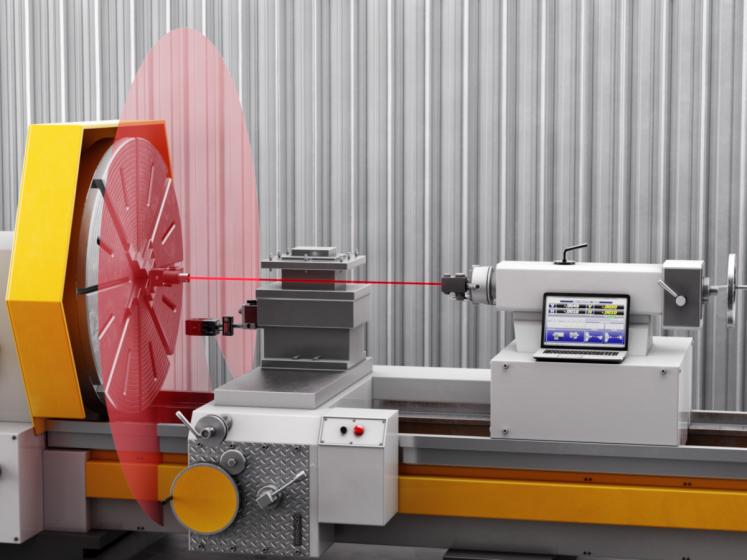
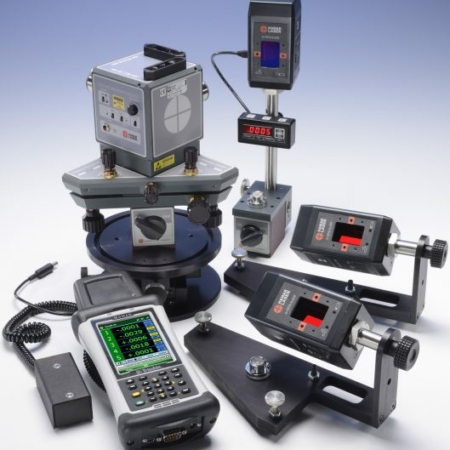
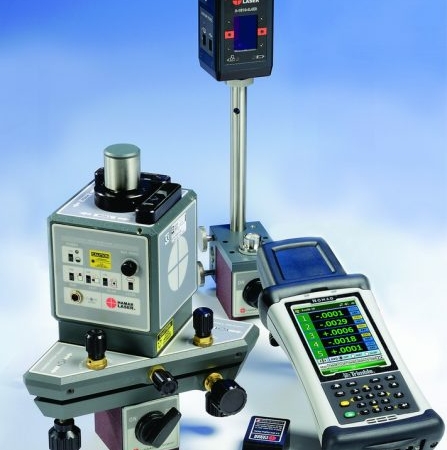
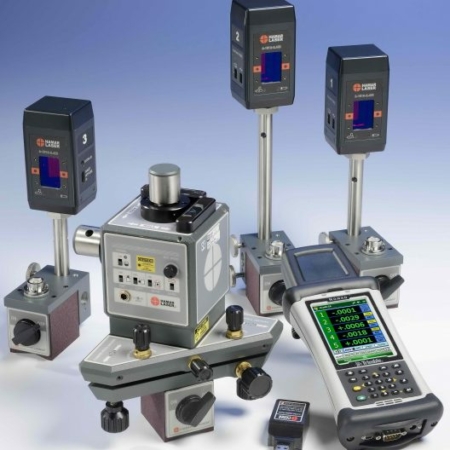
Newly designed, the L-702/L-702SP Lathe & Machining Center Alignment Systems are replacements for our workhorse L-700 Spindle laser that has been used to align spindles in lathes, CNC turning centers, transfer-line and rotary-dial machines for over 20 years. With the L-702SP’s scan plane and few accessories, the system can be used on CNC boring mills, gantries and machining centers, too.
The L-702 Laser Alignment System comes in 2 configurations:
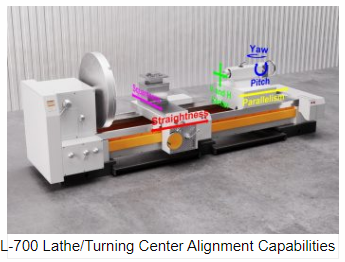
- L-702 Spindle Alignment Laser – is a straight-line laser for spindle alignments in lathes, turning centers, OD grinders, slant-bed lathes and transfer-line and rotary-dial machines.
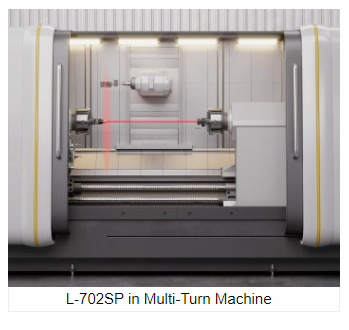
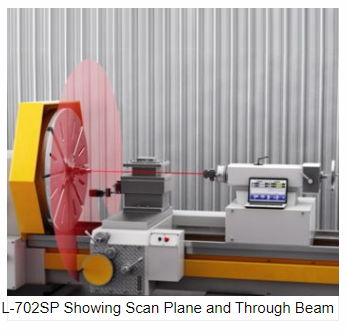
- L-702SP Spindle Alignment Laser with Scan Plane – this adds a perpendicular scan plane to the L-702 spindle laser beam for checking cross-slide, turret-axis squareness on lathes, and checking other milling axes in CNC multi-axis, mill-turn machines. With some accessories, it can also check the alignment of CNC boring mills, gantries and machining centers.
System Highlights
- Fast: Easy setups let you do a quick alignment check in 15 minutes and get full alignment data in 25-30 minutes on most machines.
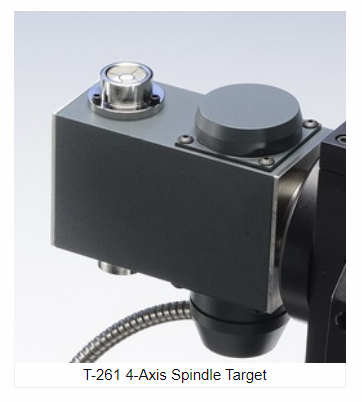
- Easy: Laser and target mount directly into the spindle and tailstock, respectively, allowing the entire length of even the largest lathes to be quickly and easily aligned without changing setups, replacing cumbersome and impractical alignment test bars.
- Accurate: Ultra-high resolution of .00001 in. (0.00025 mm) combined with software to correct mounting errors produces a very accurate alignment, less than .0001 in. (0.0025 mm) and .0001 in/ft (0.0083 mm/m) under good environmental conditions.
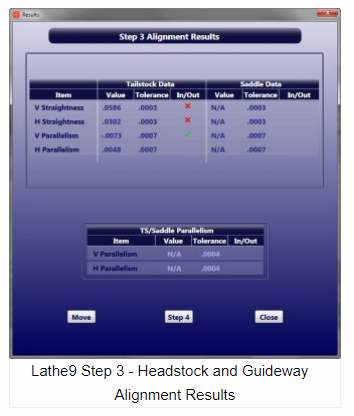
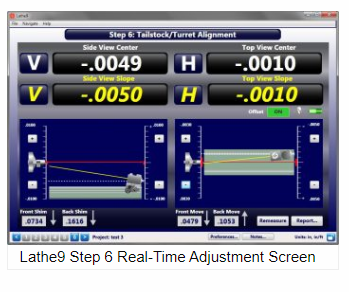
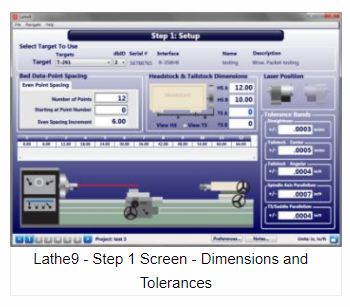
- Lathe9 Software: Large, easy-to-see alignment displays, live alignment data and spindle graphics, and a 6-step procedure guide users through the alignment with on-screen help instructions.
- Machine Tool Geometry Software: Takes data for all axes of boring mills, machining centers and other machine tools, calculating straightness, flatness and squareness results and providing a comprehensive report on the alignment of the machine tool.
- Spindle8 Software: Large, easy-to-see alignment displays, live alignment data and spindle graphics, and a 4-step procedure guide users through aligning spindles to master parts on transfer-line spindle applications.
FEATURES
Key Features
- L-702/L-702SP mounts in the spindle to project its axis of rotation out to 100 ft (30 m).
- The laser and target both offer a .500 in. (12.7 mm) mounting stud for simple fixturing to hold them in place.
- Center resolution of .00001 in. (0.00025 mm) and angular resolution of .00001 in/ft (0.0008 mm/m).
- Live measurement data in 4 axes (V center, V angle, H center & H angle) simultaneously.
- Windows 7/8/10-based Lathe9 Software with large, color graphics corrects mounting errors, calculates shim values and provides an alignment report showing all the alignment parameters of lathe alignment.
- Windows 7/8/10-based Machine Tool Geometry Software: Takes data for all axes of boring mills, machining centers and other machine tools, calculating straightness, flatness and squareness results and providing a comprehensive report on the alignment of the machine tool.
- Windows 7/8/10-based Spindle8 Software with large, easy-to-see alignment displays, live alignment data and spindle graphics, and a 4-step procedure guide users through aligning spindles to master parts on transfer-line spindle applications.
- Vertical and horizontal angular adjustments to precisely adjust the laser to the spindle’s axis of rotation or to align laser plane to reference points.
- Rechargeable LiPo battery runs the lasers for up to 8 hours.
- Compact and rugged 4 x 2.9 x 1.7 in. (101 x 74 x 45 mm).
- Only needs 10 in. (254 mm) of space between spindle and tailstock or sub-spindle.
APPLICATIONS
DETAILS
DOWNLOADS



Reviews
There are no reviews yet.