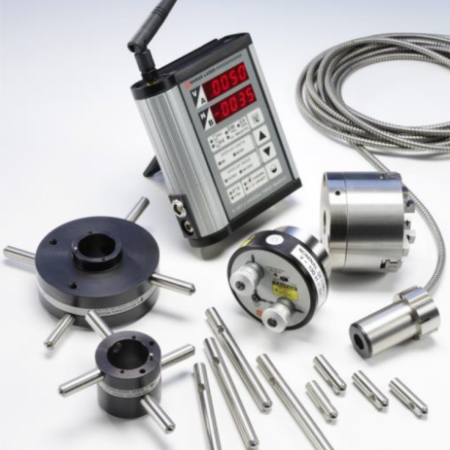
System Highlights
- Fast: Data updates in real time to align CNC boring mills, gantries and CNC machining centers up to 70% faster than traditional methods or laser interferometers.
- Easy: Measures the 3 main axes of a machine at the same time for flatness, straightness and squareness. Also checks rotary A, B and C axes for parallelism or perpendicularity, usually with the one setup.
- Accurate: Ultra-precise laser planes have a flatness of 0.5 arc second (.00003 in/ft or 0.0025 mm/m) in a 180º sweep and 0.25 arc second (.000015 in/ft or 0.001 mm/m) in a 90º sweep.
- Versatile: Ideal for nearly all types of CNC machining centers, as well as many other applications including aircraft assembly, automotive transfer lines, injection molding machines, roll alignment and laser and water-jet cutting machines.
- Smart: Powerful Windows-based alignment software, combined with advanced wireless interfaces, makes collecting and analyzing alignment data fast and easy.
Key Features
- 3 continuously rotating laser planes with operational range of 100 ft (30.5 m) in radius.
- Laser planes flat to 0.5 arc second (.00003 in/ft or 0.0025 mm/m) in 180º sweep and 0.25 arc second (.000015 in/ft or 0.001 mm/m) in 90º sweep.
- Planes are mutually square up to 1 arc second (.00006 in/ft or 0.005 mm/m).
- Includes L-123 Pitch/Roll/Yaw base with coarse and fine adjustments.
- Standard Targets: A-1519 2.4ZB Wireless Target with .00002 in. (0.00058 mm) Resolution and ±.51 in. (12.7 mm) Measuring Range.
- Backlit levels accurate to 3 arc seconds (.000018 in/ft or 0.015 mm/m).
- Upgrade to Split-Prism levels for accuracy to .00006 in/ft (0.005 mm/m).
- Typical setup time of 20 minutes or less.
- Machine Tool Geometry Software collects machine-tool axis straightness, flatness, squareness and parallelism data, analyzes the data and provides a comprehensive report.
- Plane5 Software can be used to measure X-Y, Y-Z and X-Z plane data.
- Battery or AC powered.
Applications
- Aircraft Interior Alignment (Storage Bins, Galleys, etc.)
- Body-to-Body Join Assembly
- Floor Beam Alignment
- Jig/Tooling Calibration and Leveling
- Seat-Track Alignment
- Wing-to-Body Joining Alignment
- Laser-Cutting Machines
- Routers
- Saw Mills
- Tube-Bending Machines
- Water-Jet Machines
- Woodworking Machines
- Agricultural Machinery Assembly
- Large Construction Machinery Assembly
- Locomotive Assembly
- Truck Bed Assembly
- Wind Turbine Flange Parallelism
- CNC Floor and Spar Milling Machines
- CNC Gantries
- CNC Boring Mills
- CNC Horizontal and Vertical Milling/Machining Centers
- Large-Lathe Beds
- Machine Tool Assembly and Calibration
- Roll-Forming Machines
- Transfer-Line Wing Bases
- Vertical and Horizontal Presses
- Vertical-Turning Lathes (VTLs)
- Blown-Film Lines Roll Alignments
- Film Lines Roll Alignments
- Injection Molding Machines
Quality Control
- Checking Flatness, Straightness, Squareness and Parallelism of Large Fixtures and Parts
- Scraping Machine Rails
- Surface Plate Calibration
- Aluminum Mills
- Continuous Casting Machines
- Paper Mills
- Printing Presses
- Steel Mills
- Textile Mills
Ship Building
- Gun-Bearing Alignment
- LNG Tanker Hull Construction
- Section Alignment and Layout
Most Versatile Machine Tool Laser Alignment System on the Market
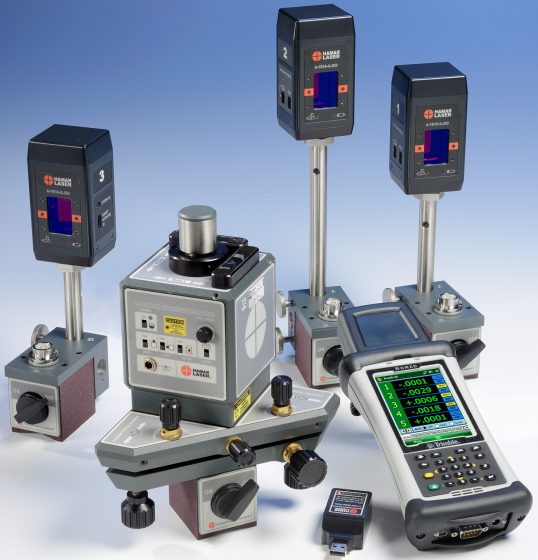
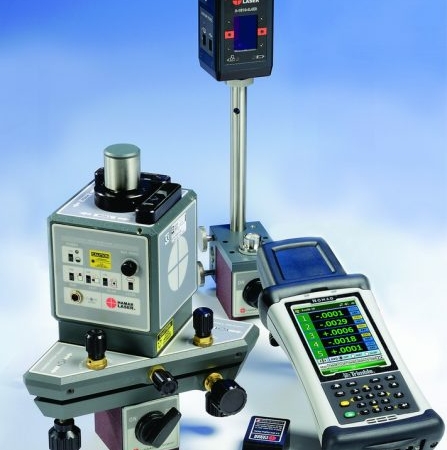
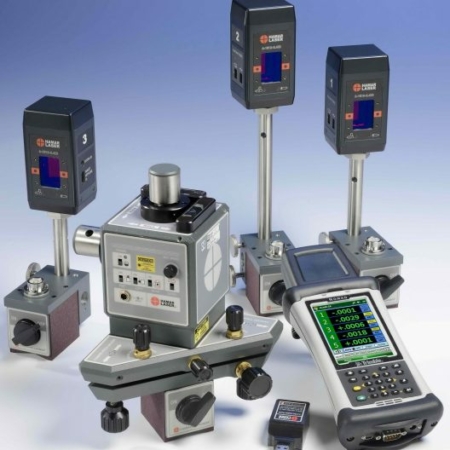
The L-743 Triple Scan® Laser Alignment System offers 3 automatically rotating laser planes that are the most accurate in the industry. The unique design makes the L-743 able to align many different applications from machining centers to injection molding machines to roll alignment applications and many more. This power laser not only a measures surface flatness, squareness and straightness, but it also FIXES alignment problems in a fraction of the time needed with conventional methods.
Unsurpassed Laser Plane Flatness
One of the critical components of any laser alignment system is the straightness or flatness of the laser beam or plane since you can’t measure any more accurately than the flatness of the plane. The L-743 features the flattest laser plane in the world that is flat to 1/2 an arc second (.00003 in/ft or 0.0025 mm/m) in a 360º sweep and 1/4 arc sec in a 90º sweep (.000015 in/ft or 0.001 mm/m).
100 Ft. Straightness and Squareness Alignment Measurement Capability
The 3 laser planes are square with an accuracy of up to 1 arc second (.00006 in/ft or 0.005 mm /m). This squareness can be projected out 100 feet (30.5 m), allowing squareness and straightness measurement of even the tallest machine in the world to be easily checked. The L-743 also features 2 built-in level vials that are accurate to 1 arc second.
High-Resolution Wireless Targets
The L-743 system uses our A-1519-2.4ZB/A-1520-2.4ZB Wireless Targets that feature up to .00001 in. (0.00025 mm) resolution, large measuring ranges of up to 1 in. (25 mm) and a 2.4 GHz radio communication, using the Zigbee technology, with our R-1357-2.4ZB PDA Readout, which can simultaneously display up to 5 targets.
These targets are all powered by rechargeable batteries, are lightweight and can be used as digital height gages when used with precision inserts. And like all Hamar Laser alignment systems, the targets provide real-time alignment data so misalignment errors can be fixed without changing the setup!
One Setup for Most Machining Centers
The L-743 Triple Scan Laser Alignment Tool usually allows you to check the entire boring mill, gantry, machining center or VTL with one setup. Less setups means faster alignments and better results due to less setup errors. This means alignment problems are quickly identified and the machine’s calibration quickly assessed.
All Kinds Laser Alignment Applications
For applications with tolerances of .00003 in/ft or 0.0025 mm/m or higher, the L-743 can quickly measure and correct alignment errors with minimal setup for the following applications
- Aircraft assembly (seat track alignment, setting water, butt and station planes, wing-to-body and body-to-body join alignment, etc.)
- High-precision, laser and water-jet cutting machines
- Injection molding machines and presses
- Machining center alignment (HBMs, VBMs, HMCs, VMCs, gantries, surface grinders and VTL’s)
- Roll alignment in:
- Paper mills,
- Printing presses
- Film lines
- Geometry checks:
- Surface flatness of almost any surface (squares, frames, ways, flanges, circles, etc.)
- Squareness of up to 3 surfaces
- Straightness measurement of horizontal and vertical surfaces
- Straightness and flatness measurements of horizontally and vertically traversing axes
- Parallelism of horizontal and vertical surfaces even if those surfaces are 100 feet (30.5 meters apart)
- Plumb measurement of a vertical surface up to 100 feet (30.5 meters)
- Way twist and parallelism between horizontal surfaces
- Way twist and parallelism between vertical surfaces
- Measuring surfaces up to 200 feet (61 meters) long with 1 setup
Alignment Software Downloads Data Automatically
For wireless recording and analyzing alignment data, our 3-D flatness and squareness analysis software, Plane5, simplifies and streamlines the data analysis process. It can measure up to 7 different surfaces in one project setup file and present a color, 3-D graph of the flatness and squareness analysis for each surface.
Our Machine Tool Geometry Software is also very useful for measuring and analyzing straightness measurements and squareness of each line of motion of a machining center, gantry or boring mill. The user can select the type of machine tool to be analyzed and the software displays the top, side and front views of the machine. After collecting the data, the report shows flatness, straightness, parallelism and squareness errors on an easy-to-read report.
Downloads
- L-733 – L-743 Machining Center Alignment Brochure (with image popup) – Rev A
- A-1519-1520 Data Format – Type II – Programmer’s note -1 or 2-axis targets
- A1519 RS485 Cable Connection Diagram – Rev B
- L-106 Datasheet – Rev F
- R-1307B Basic Readout Datasheet -with KS – Rev E
- R-1357 PDA Android Data Display datasheet – Rev A.pdf
- S-1387 Machine Geo Software – Rev C
- Machine Geo Sample Report
- S-1388 Plane5 Software Version II – Rev A
- S-1388 Plane5 Sample Report Rails Flatness
- Plane5 Sample Report 3 surfaces
- S-1405 Read15 PDA Software – Rev A