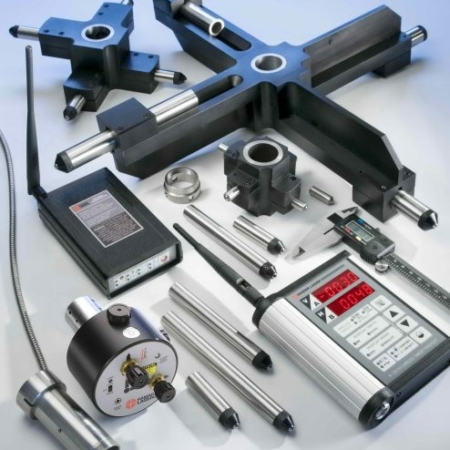
Description
Hamar Laser’s patented 4-axis L-700 Lathe & Turning Center Spindle Alignment System is a powerful alignment tool that offers unparalleled accuracy, easy setup and significant savings for aligning spindles to subspindles and headstock spindles to lathe beds and tailstocks. It is also an excellent tool for rotary dial and transfer-line spindle alignments. For over 20 years, the L-700 has been helping companies reduce tooling costs and scrap rates while increasing their productivity and profitability.
System Highlights
- Fast: Easy setups let you do a quick alignment check in 15 minutes and get full alignment data in 25-30 minutes on most machines.
- Easy: Laser and target mount directly into the spindle and tailstock, respectively, allowing the entire length of even the largest lathes to be quickly and easily aligned without changing setups, replacing cumbersome and impractical alignment test bars.
- Accurate: Ultra-high resolution of .00001 in. (0.00025 mm) combined with software to correct mounting errors produces a very accurate alignment, less than .0001 in. (0.0025 mm) and .0001 in/ft (0.0083 mm/m) under good environmental conditions.
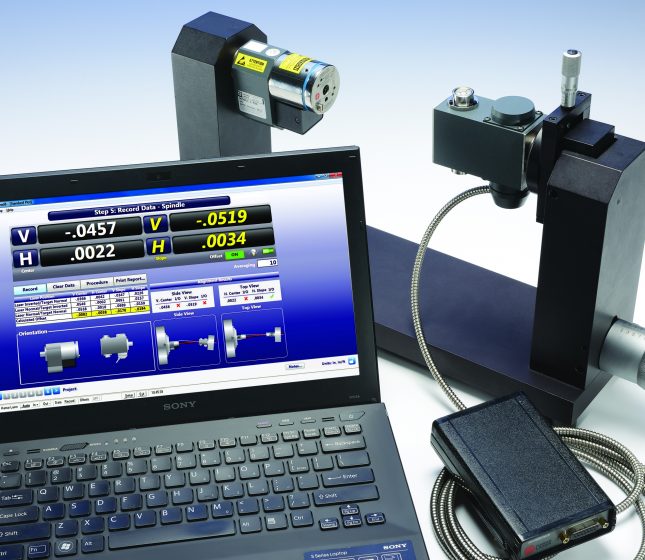
- Lathe9 Software: Large, easy-to-see alignment displays, live alignment data and spindle graphics, and a 6-step procedure guide users through the alignment with on-screen help instructions.
- Spindle8 Software: Large, easy-to-see alignment displays, live alignment data and spindle graphics, and a 4-step procedure guide users through aligning spindles to master parts on transfer-line spindle applications.
FEATURES
Key Features
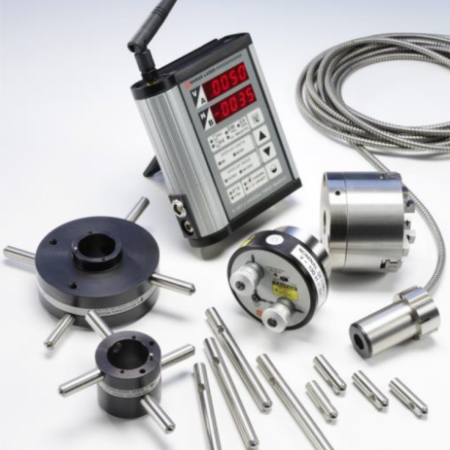
- The laser and target both offer a .500 in. (12.7 mm) mounting stud for simple fixturing to hold them in place.
- Center resolution of .00001 in. (0.00025 mm) and angular resolution of .00001 in/ft (0.0008 mm/m).
- Live measurement data in 4 axes (V center, V angle, H center & H angle) simultaneously.
- Windows 7/8/10-based Lathe9 Software with large, color graphics corrects mounting errors, calculates shim values and provides an alignment report showing all the alignment parameters of lathe alignment.
- L-700 mounts in the spindle to project its axis of rotation out to 100 ft (30 m).
- Vertical and horizontal adjustments for both angle and center to precisely adjust the laser to the spindle’s axis of rotation.
- Laser runs for up to 8 hours on a standard, replaceable 9-volt battery.
- Compact and rugged 4 x 2.9 x 1.7 in. (101 x 74 x 45 mm).
- Only needs 10 in. (254 mm) of space between spindle and tailstock or sub-spindle.
APPLICATIONS
DETAILS
DOWNLOADS

